Gathering Supplies and Materials

Dyeing pine cones with food coloring – Dyeing pine cones is a simple and enjoyable craft project, perfect for adding a touch of autumnal color to your home décor. Before embarking on this creative endeavor, it’s crucial to gather all the necessary supplies and prepare your pine cones appropriately. Proper preparation ensures vibrant and long-lasting results.
Necessary Materials for Dyeing Pine Cones
A successful pine cone dyeing project hinges on having the right materials at hand. The list below details essential items, including options for variations in technique and color.
- Pine cones: Choose cones that are dry and closed. Avoid cones that are moldy or show signs of insect infestation. The size and type of cone will influence the final aesthetic. Larger cones offer more surface area for color absorption.
- Food coloring: Liquid food coloring provides vibrant and easily controllable results. Gel food coloring offers richer, more concentrated color but requires more thorough mixing. Experimenting with different colors and combinations yields unique results.
- Alternative dyes: Natural dyes, such as turmeric (for yellow hues), beetroot (for reddish-purple), or onion skins (for various shades of brown and yellow), offer an eco-friendly alternative to food coloring. These natural dyes often require longer soaking times and may produce less intense colors.
- Water: Plenty of hot water is necessary for effective dye absorption. The amount will depend on the number of pine cones and the size of your container.
- Container: A heat-resistant container large enough to comfortably hold the pine cones and dye solution is essential. The container’s material and size will influence both the dyeing process and cleanup. Options are discussed below.
- Gloves: Protect your hands from staining by wearing gloves during the dyeing process.
- Paper towels or newspaper: These are useful for cleaning up spills and drying the dyed pine cones.
- Optional: Vinegar or alum can be added to the dye bath to act as a mordant, enhancing colorfastness and vibrancy. A sealant, such as a clear acrylic spray, can be applied after drying to further protect the color and prolong the life of the dyed pine cones.
Preparing Pine Cones for Dyeing
Prior to dyeing, the pine cones require preparation to ensure even color absorption. This process is crucial for achieving a consistent and vibrant result.
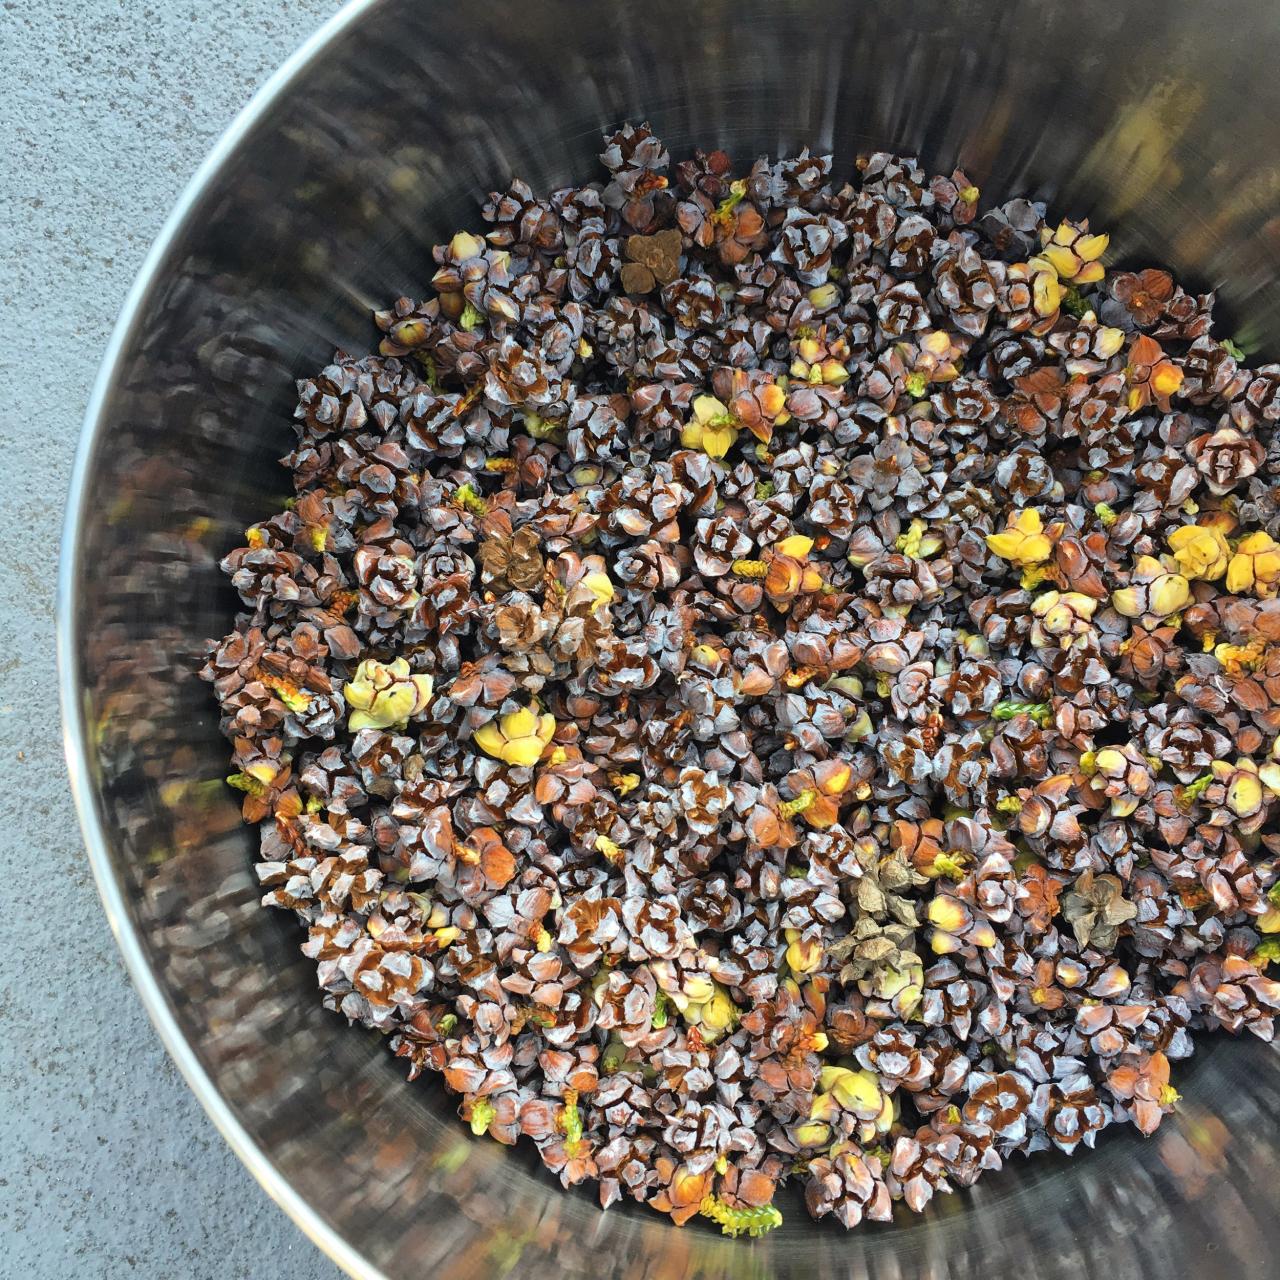
Begin by thoroughly cleaning the pine cones. Brush off any loose debris, dirt, or insects using a stiff brush. For particularly dirty cones, a gentle wash with warm water and mild soap might be necessary, followed by thorough rinsing and complete drying. Ensure the cones are completely dry before proceeding to the dyeing process. Pre-soaking the cones in hot water for about 30 minutes can help them absorb the dye more effectively.
This step is particularly beneficial for very dry cones.
Let’s unleash our creativity and dye pine cones vibrant hues using food coloring! It’s a simple, fun craft, but consider this: the very ingredients we use might be under scrutiny, as news reports suggest california banning food coloring in the future. This makes our current access to these colors all the more precious, so let’s make the most of them and create stunning, naturally-dyed pine cone masterpieces before it’s too late!
Suitable Containers for Dyeing
The choice of container impacts both the dyeing process and the ease of cleanup. Several options exist, each with its advantages and disadvantages.
- Glass Jars: Glass jars offer excellent visibility, allowing for easy monitoring of the dyeing process. They are also easy to clean. However, they can be prone to breakage and are not suitable for heating on a stovetop.
- Stainless Steel Pots: Stainless steel pots are heat-resistant, allowing for stovetop heating of the dye solution. They are durable and easy to clean. However, the metal can react with certain dyes, potentially affecting the final color.
- Plastic Containers: Plastic containers are lightweight and inexpensive. However, some plastics may melt or warp under high heat, and they may not be suitable for all types of dyes. Always check the container’s heat resistance before use.
Visual Representation of the Process: Dyeing Pine Cones With Food Coloring

Dyeing pine cones with food coloring offers a fascinating visual journey, transforming their natural hues into vibrant, unexpected shades. The process reveals how the porous nature of the pine cone readily absorbs the dye, creating a spectrum of color intensities depending on the dye concentration and immersion time. Observing these changes provides a rewarding experience, allowing for creative experimentation and unique results.The visual impact of dyeing pine cones is multifaceted, encompassing changes in color, texture, and overall aesthetic appeal.
The initial appearance of the pine cones, their natural brown and beige tones, provides a stark contrast to the final, dramatically altered appearance. The process itself offers a dynamic visual spectacle.
Pine Cone Appearance at Each Stage
Before dyeing, the pine cones present their natural, earthy tones. Variations exist depending on the species and age, ranging from light beige to deep brown, often with variations in shade and texture across the cone’s surface. The scales may be tightly closed or slightly open, influencing the overall visual impact. During the dyeing process, the color of the dye solution gradually permeates the pine cone’s scales.
The initial absorption is often most noticeable at the edges of the scales, gradually spreading inward. Depending on the dye’s intensity and the cone’s porosity, some areas may absorb color more quickly than others, leading to a mottled or variegated effect. After dyeing, the pine cones exhibit their transformed colors. The intensity of the color depends on several factors, including the concentration of the dye, the duration of the dyeing process, and the pine cone’s age and species.
The texture of the scales may appear slightly altered, potentially showing a subtle change in sheen or glossiness. The overall appearance is dramatically different from the initial state, creating a visually striking piece.
Visual Impact of Different Color Combinations
Combining multiple food coloring dyes results in a spectrum of unique colors and shades on the pine cones. For example, combining red and yellow creates various shades of orange, while blue and yellow create various greens. The mixing of dyes creates interesting visual effects, with some colors blending smoothly while others result in a more mottled appearance. Using a dark dye on light pine cones results in a high-contrast effect, while lighter dyes on dark cones produce a more subtle change.
This visual experimentation allows for personalized artistic expression.
Step-by-Step Visual Changes During Dyeing, Dyeing pine cones with food coloring
- Initial State: Natural brown and beige tones of the pine cones; scales may be tightly closed or slightly open.
- Immersion: Pine cones submerged in dye solution; initial color absorption is visible at the edges of the scales.
- Dye Penetration: Color gradually spreads inward, creating a mottled effect in some areas.
- Color Saturation: The pine cones absorb more dye, resulting in increased color intensity.
- Final Appearance: Vibrant, dyed pine cones; color intensity and texture variations depend on dye concentration and immersion time.
Key Questions Answered
How long does the color last on the dyed pine cones?
The color’s longevity depends on the sealant used and how they are stored. A good sealant significantly extends the life of the color. Store in a cool, dry place to prevent fading.
Can I use other natural dyes instead of food coloring?
Yes! Experiment with natural dyes like turmeric, beetroot, or onion skins for earth-toned results. The process may vary slightly.
What happens if I use too much food coloring?
Overly saturated colors might stain your containers and lead to less vibrant results on the pinecones themselves. Start with less and add more as needed.
Are there any safety precautions I should take?
Always supervise children during the dyeing process. Wear gloves to prevent staining your hands. Ensure proper ventilation when working with dyes.
